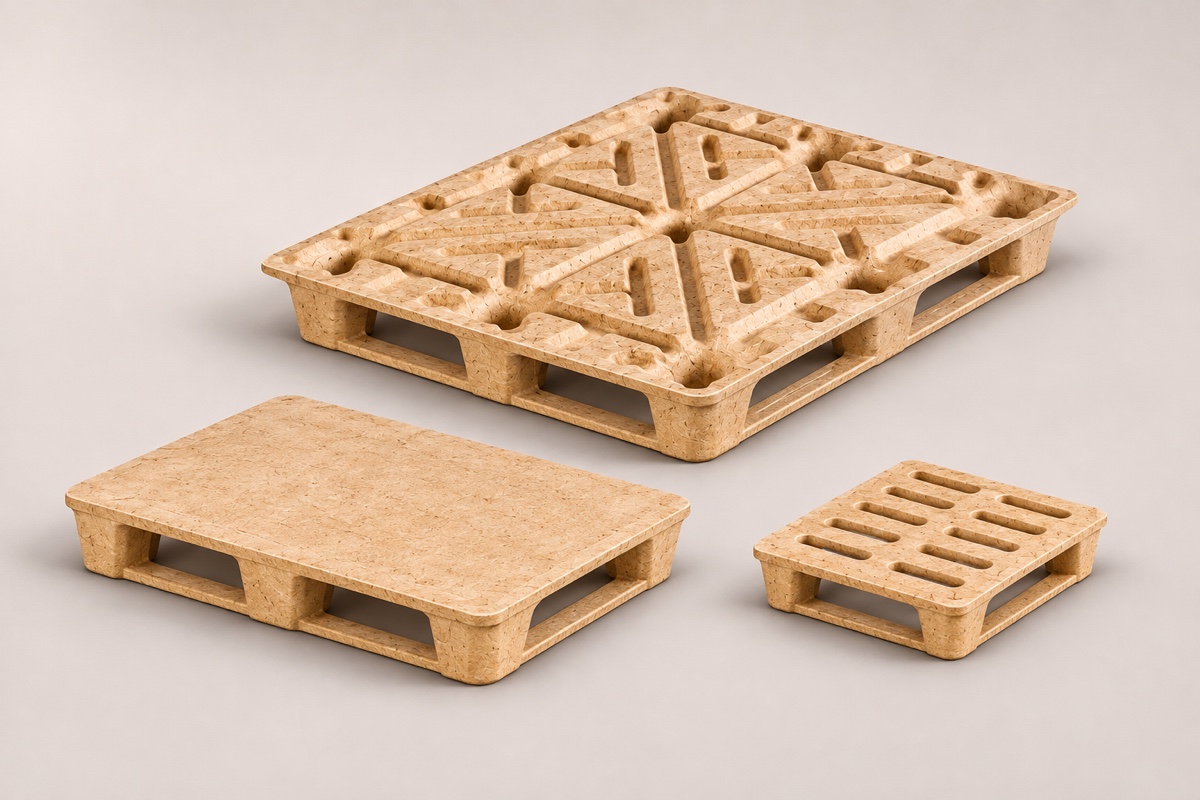
Molded pallet production line
Deck patterns and pallet footprints
See the process ↓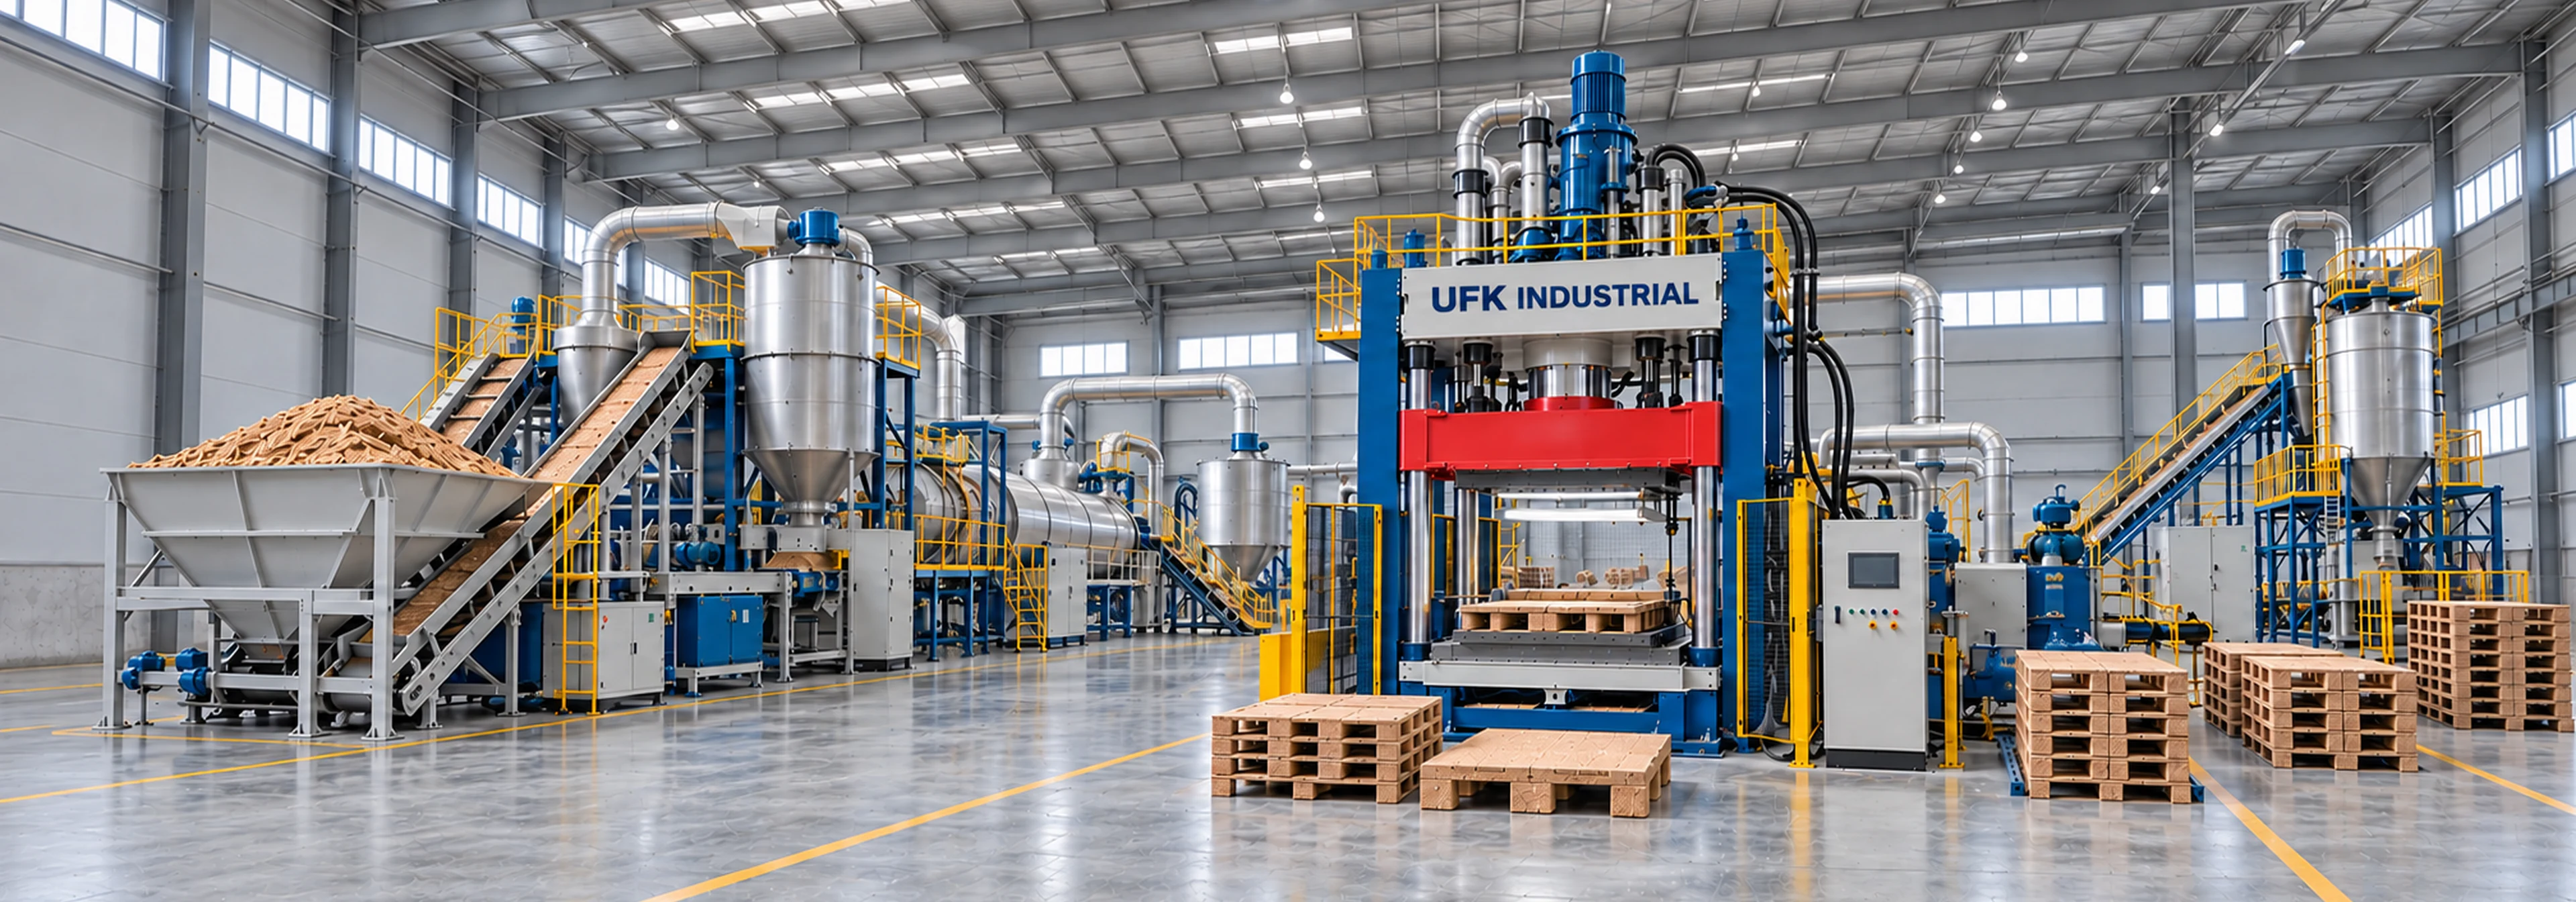
Production Process
Follow the process from material preparation and dosing to pressing, demolding and inspection. Then explore the equipment and tooling for the product you want to make.
Explore the production lines ↓ Preview image · Replace with a verified wide factory photograph.Compare the four lines by finished product, equipment layout and key stages.
AI product concepts · Replace with factory photographs before publishing.
Deck patterns and pallet footprints
See the process ↓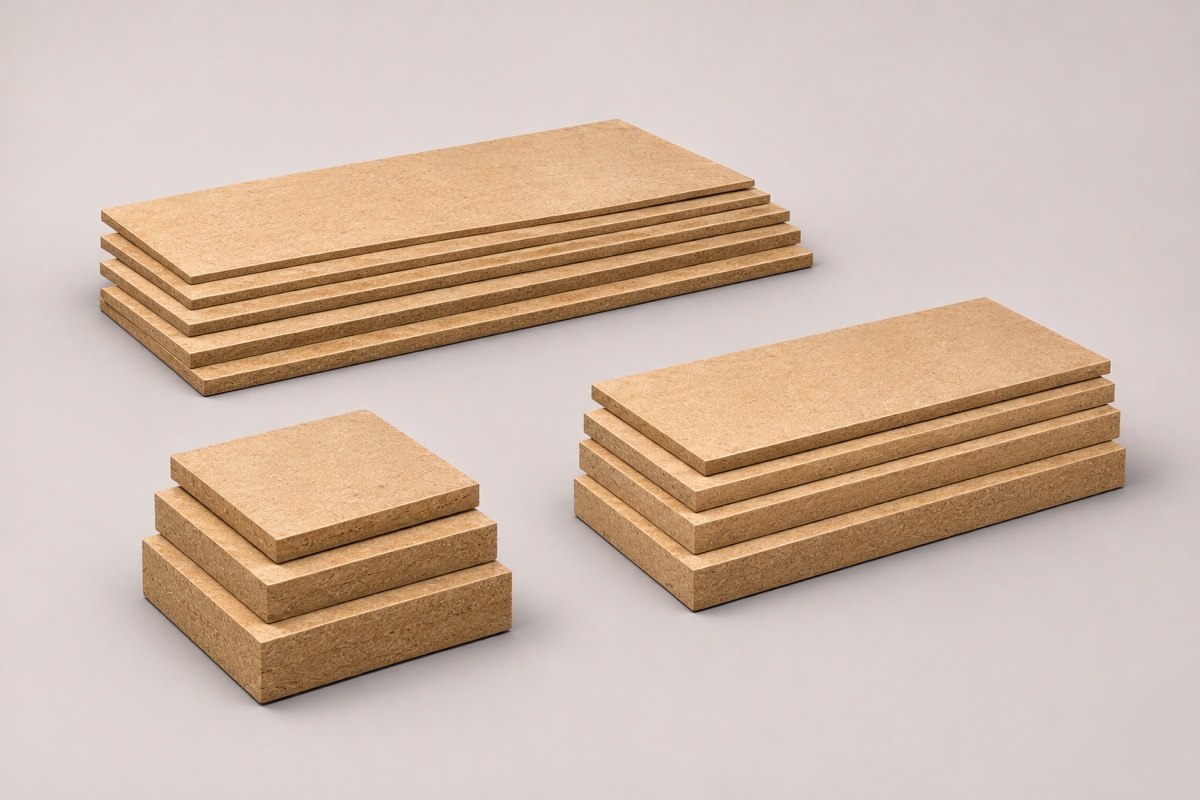
Panel sizes and thicknesses
See the process ↓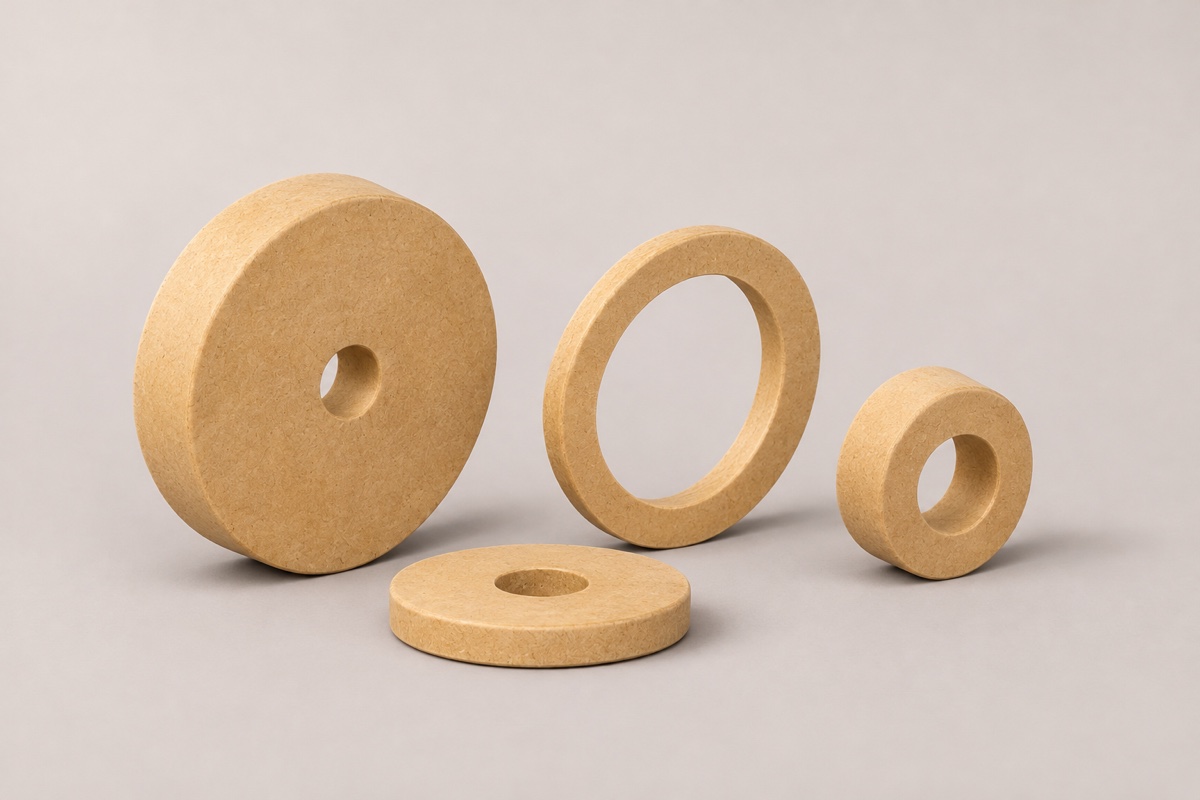
Outer diameters and bore sizes
See the process ↓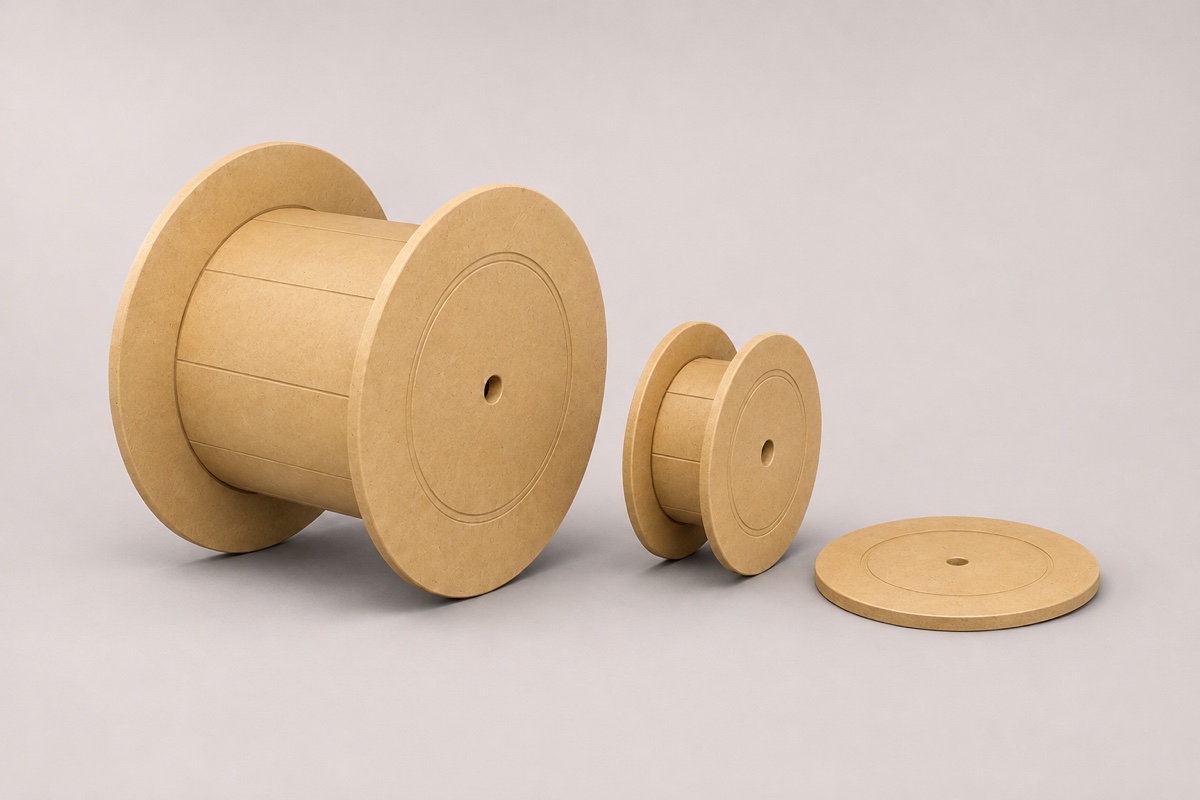
Reel sizes and flange shapes
See the process ↓Compare the finished products, equipment layout and key stages. The actual configuration depends on your material and target product.
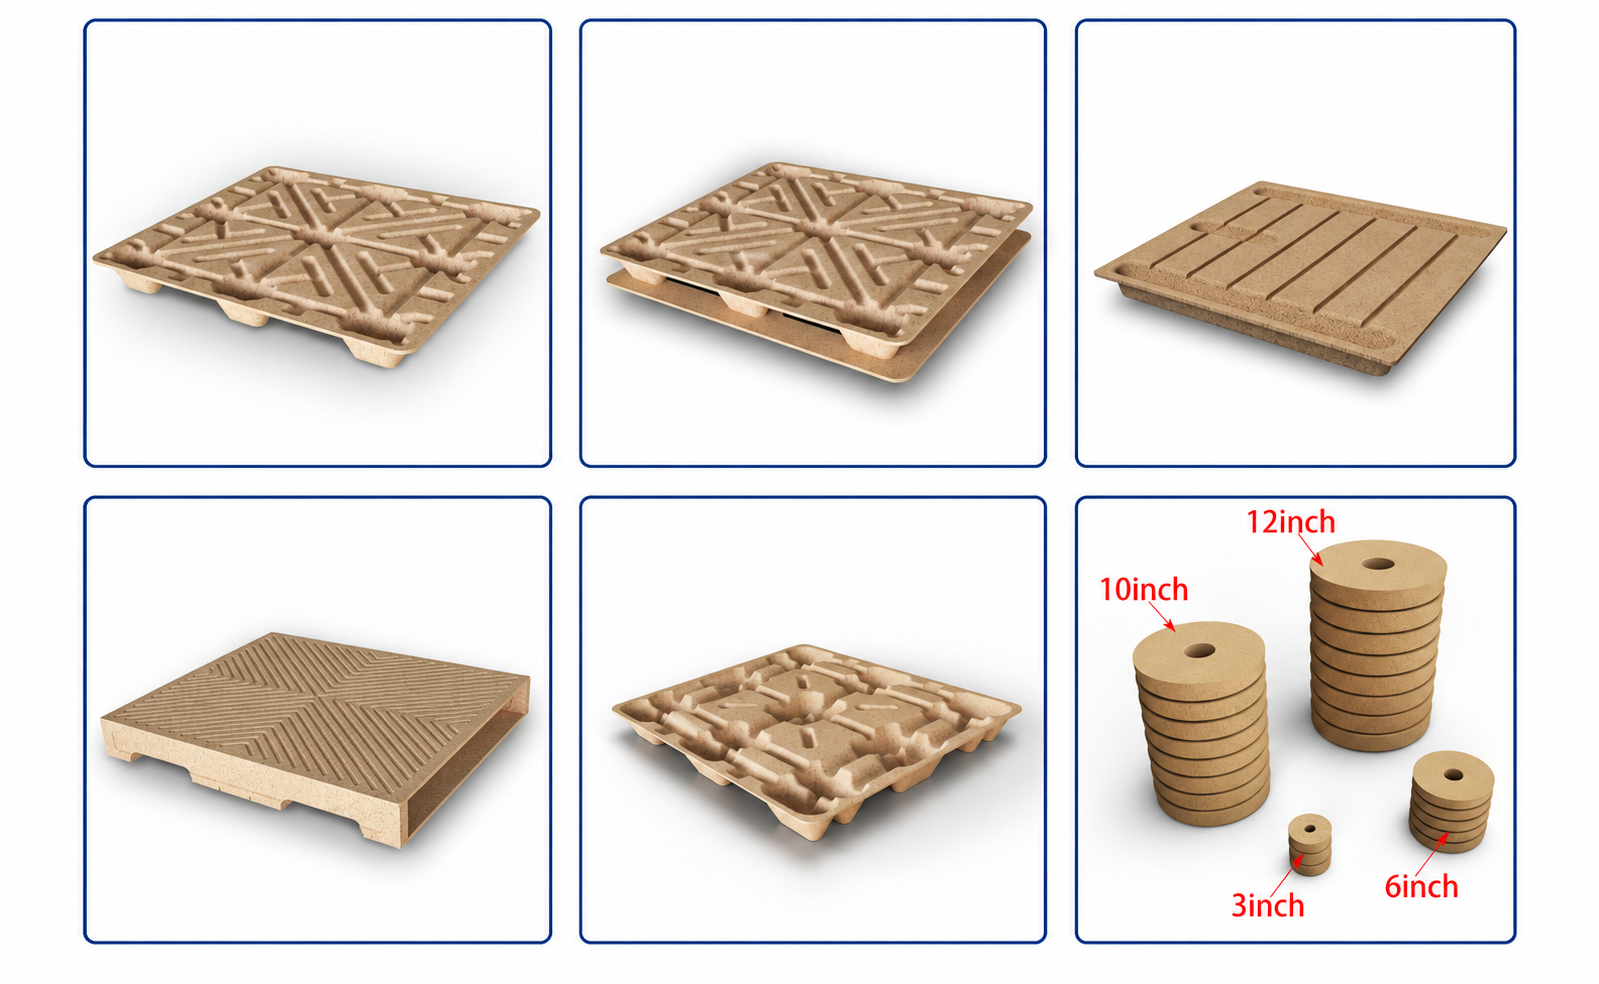
Finished product variations
AI concept variations · Factory photos to add: Finished pallet from above and below, plus a photo of the pallet coming out of the press.
Production line overview
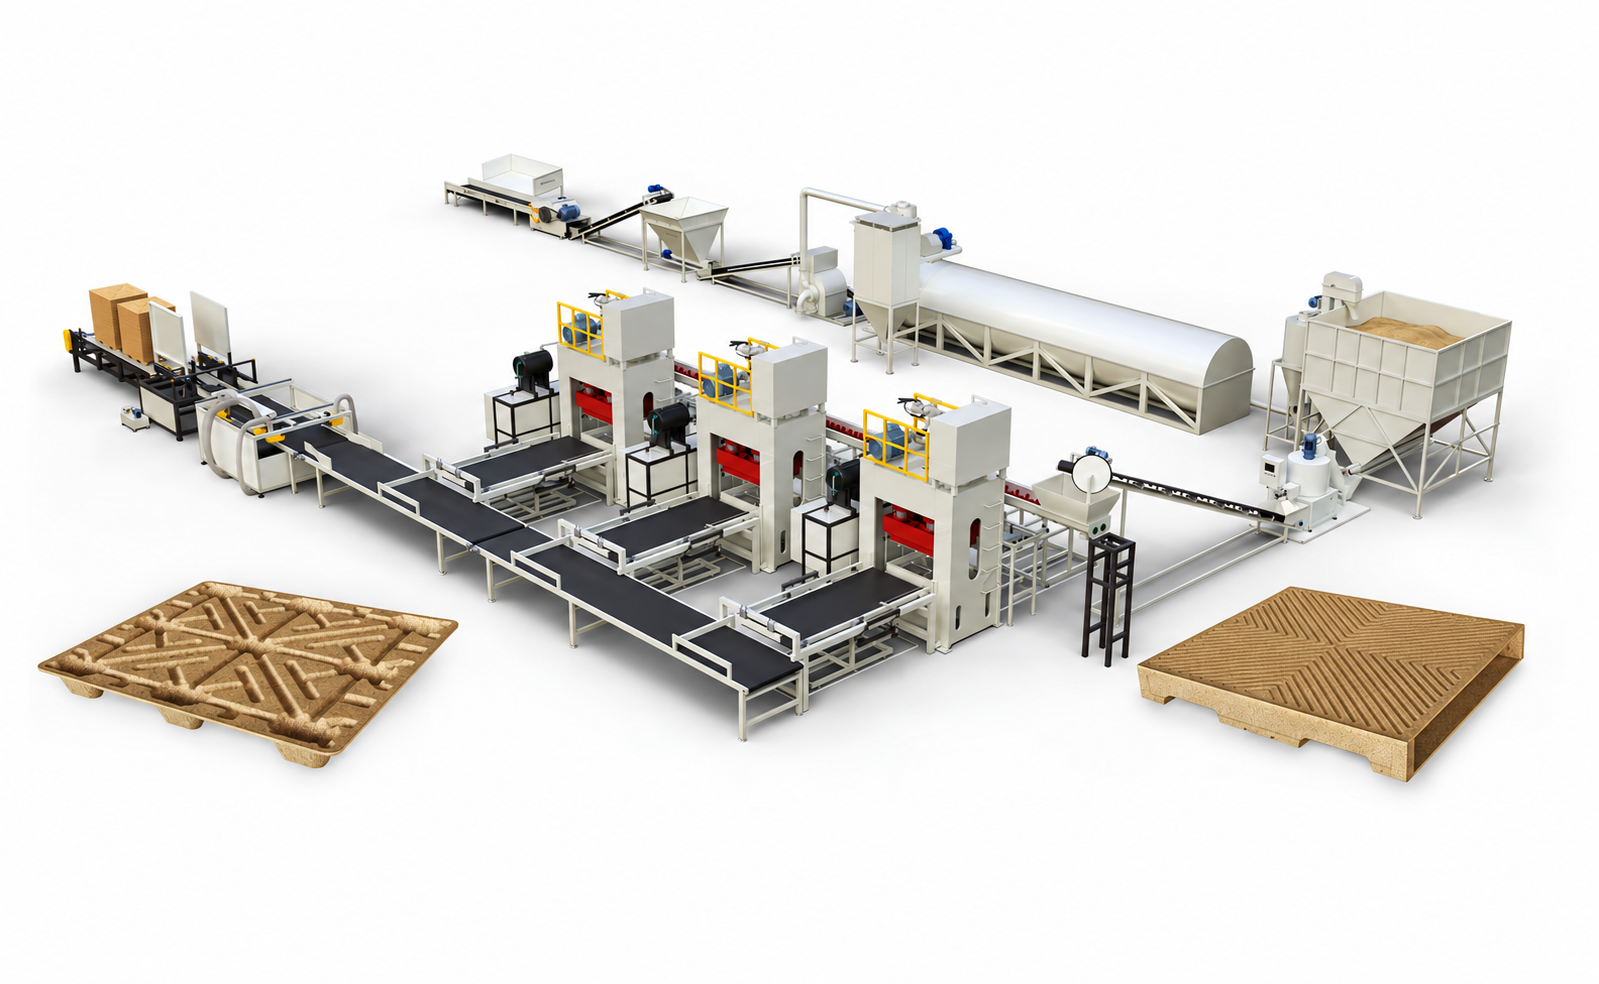
Catalog layout · Replace with a wide photo of the installed line.
The mold forms the deck, ribs and feet. Share your pallet footprint, load requirement and forklift entry to discuss tooling.
Finished product variations
AI concept variations · Factory photos to add: Finished board face, close-up of the edge and a photo of the board at the press.
Production line overview
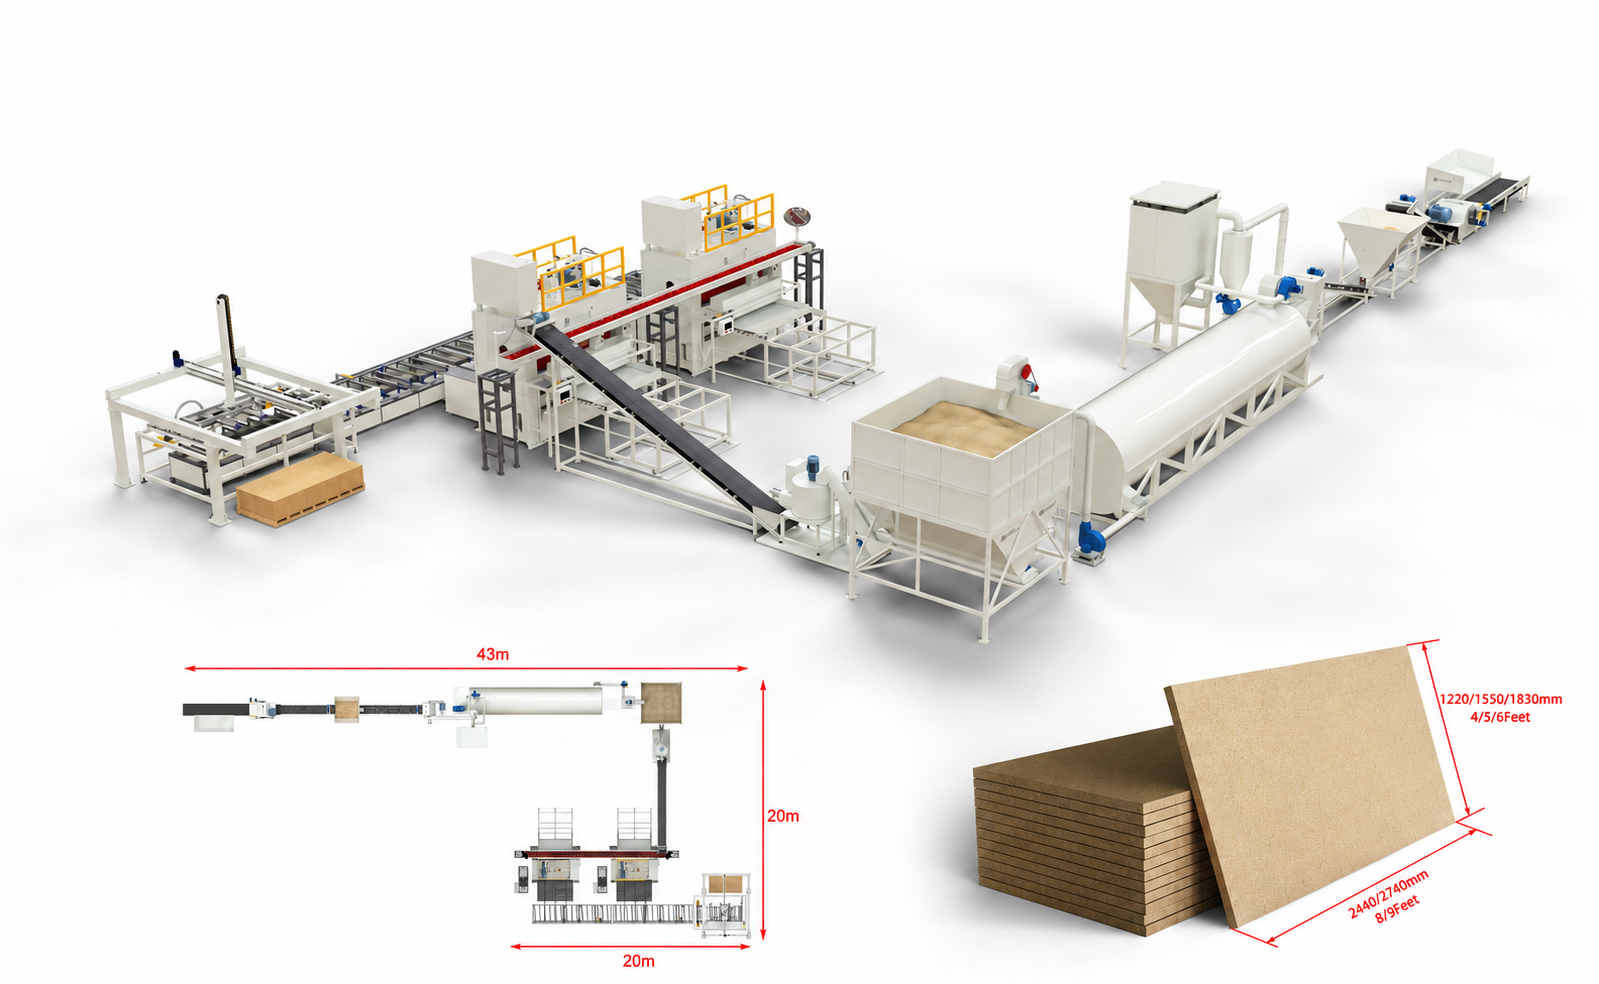
Catalog layout · Replace with a wide photo of the installed line.
Panel dimensions, thickness and surface requirements guide the tooling and material preparation.
Finished product variations
AI concept variations · Factory photos to add: Plug installed in a roll core and a side-by-side photo of the actual sizes.
Production line overview
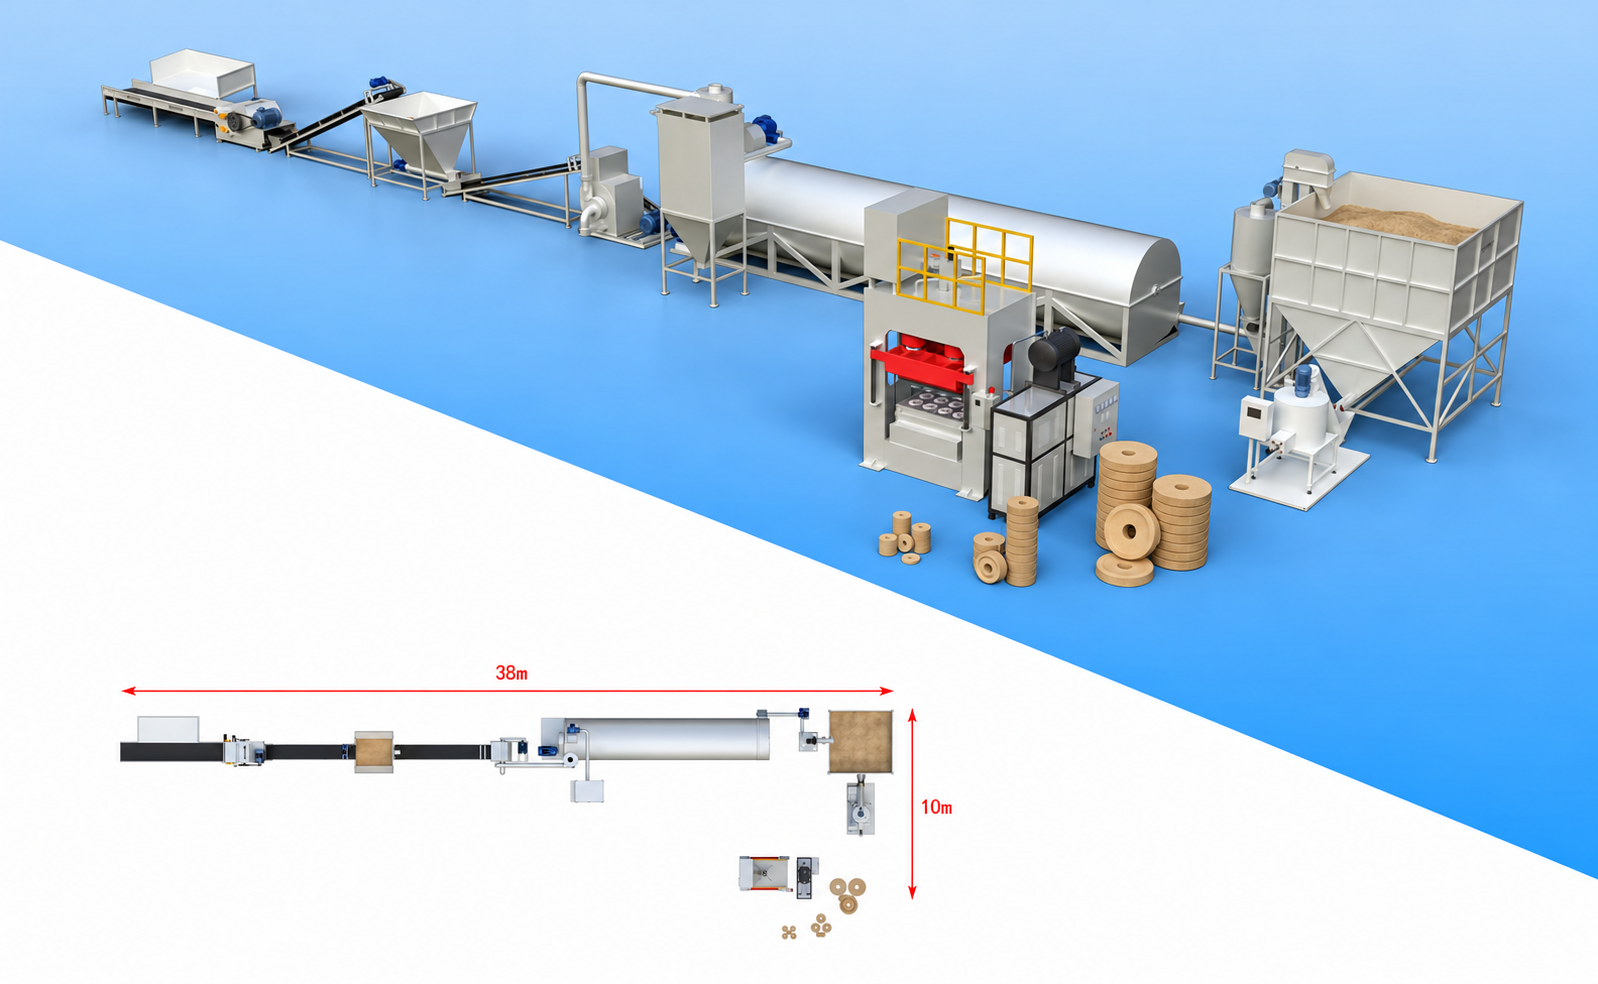
Catalog layout · Replace with a wide photo of the installed line.
Share the roll core opening and plug drawing to review outer diameter, bore and fit.
Finished product variations
AI concept variations · Factory photos to add: Assembled reel and close-ups of the molded components and their connection points.
Production line overview
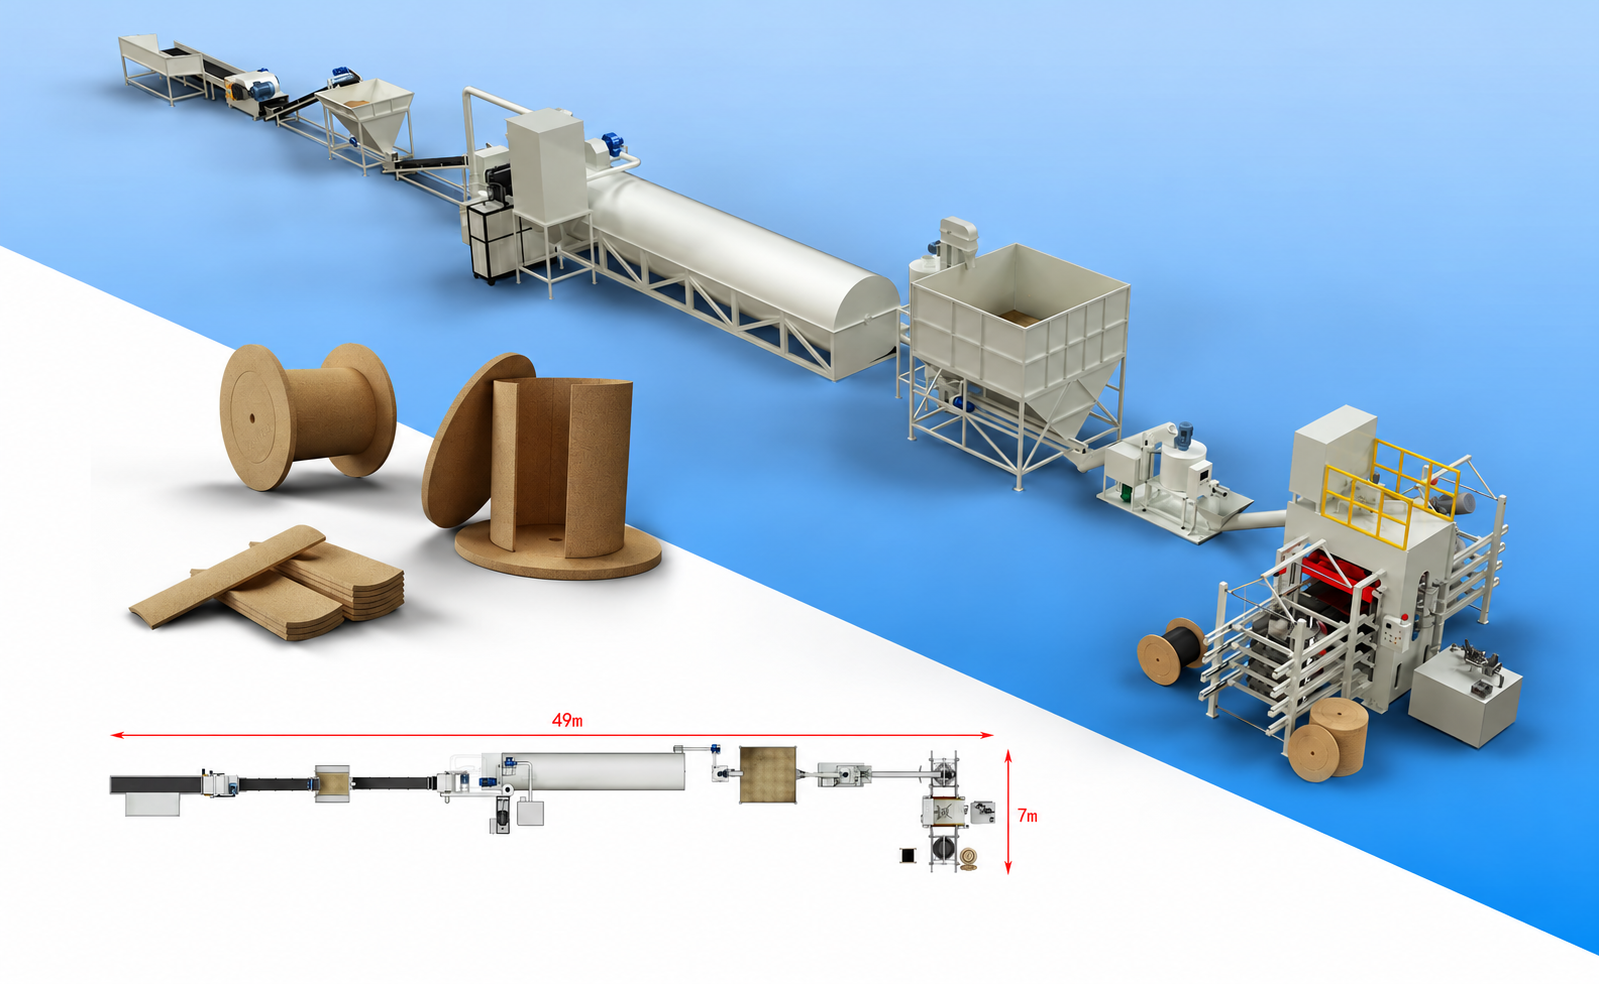
Catalog layout · Replace with a wide photo of the installed line.
Share the flange diameter and connection details so the molded parts can be evaluated against the assembly.
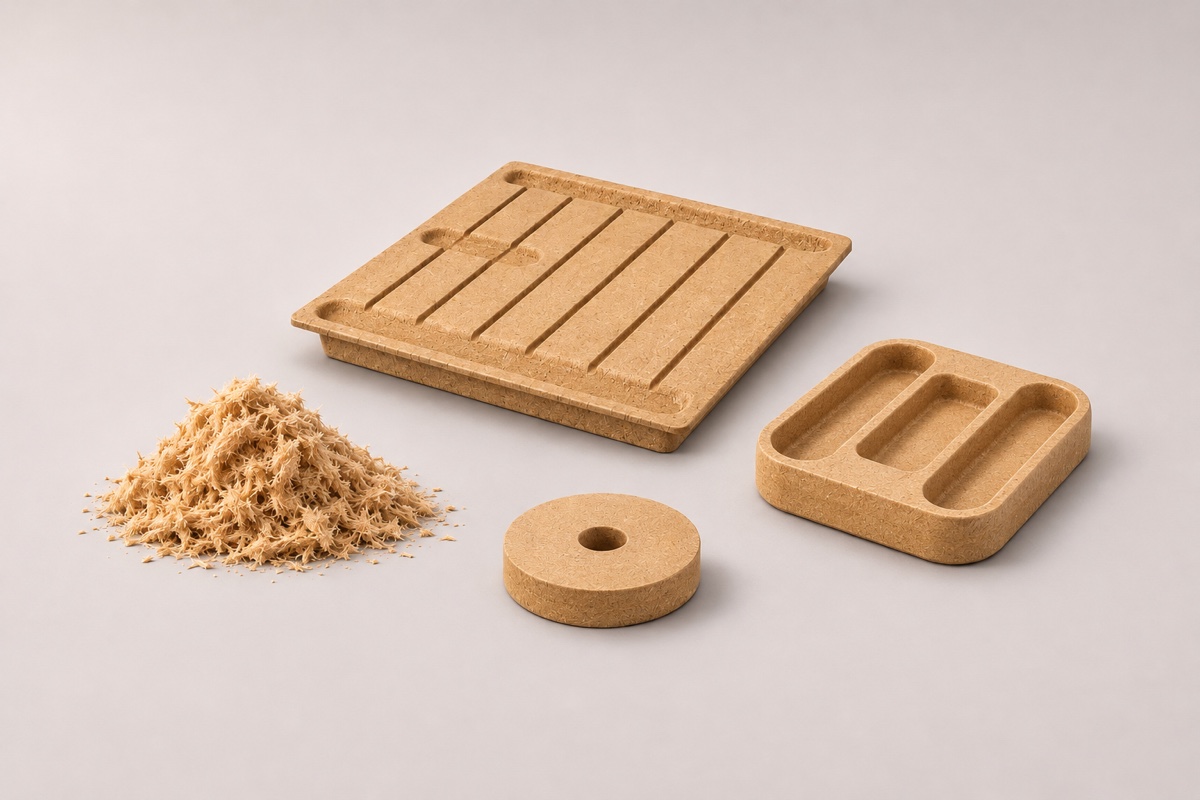
AI concept variations · Factory photos to add: Real raw material, sample and finished product from the same project.
Start with a material photo, product sample or drawing. Add your output target and available floor space if known.
THE SHARED PROCESS
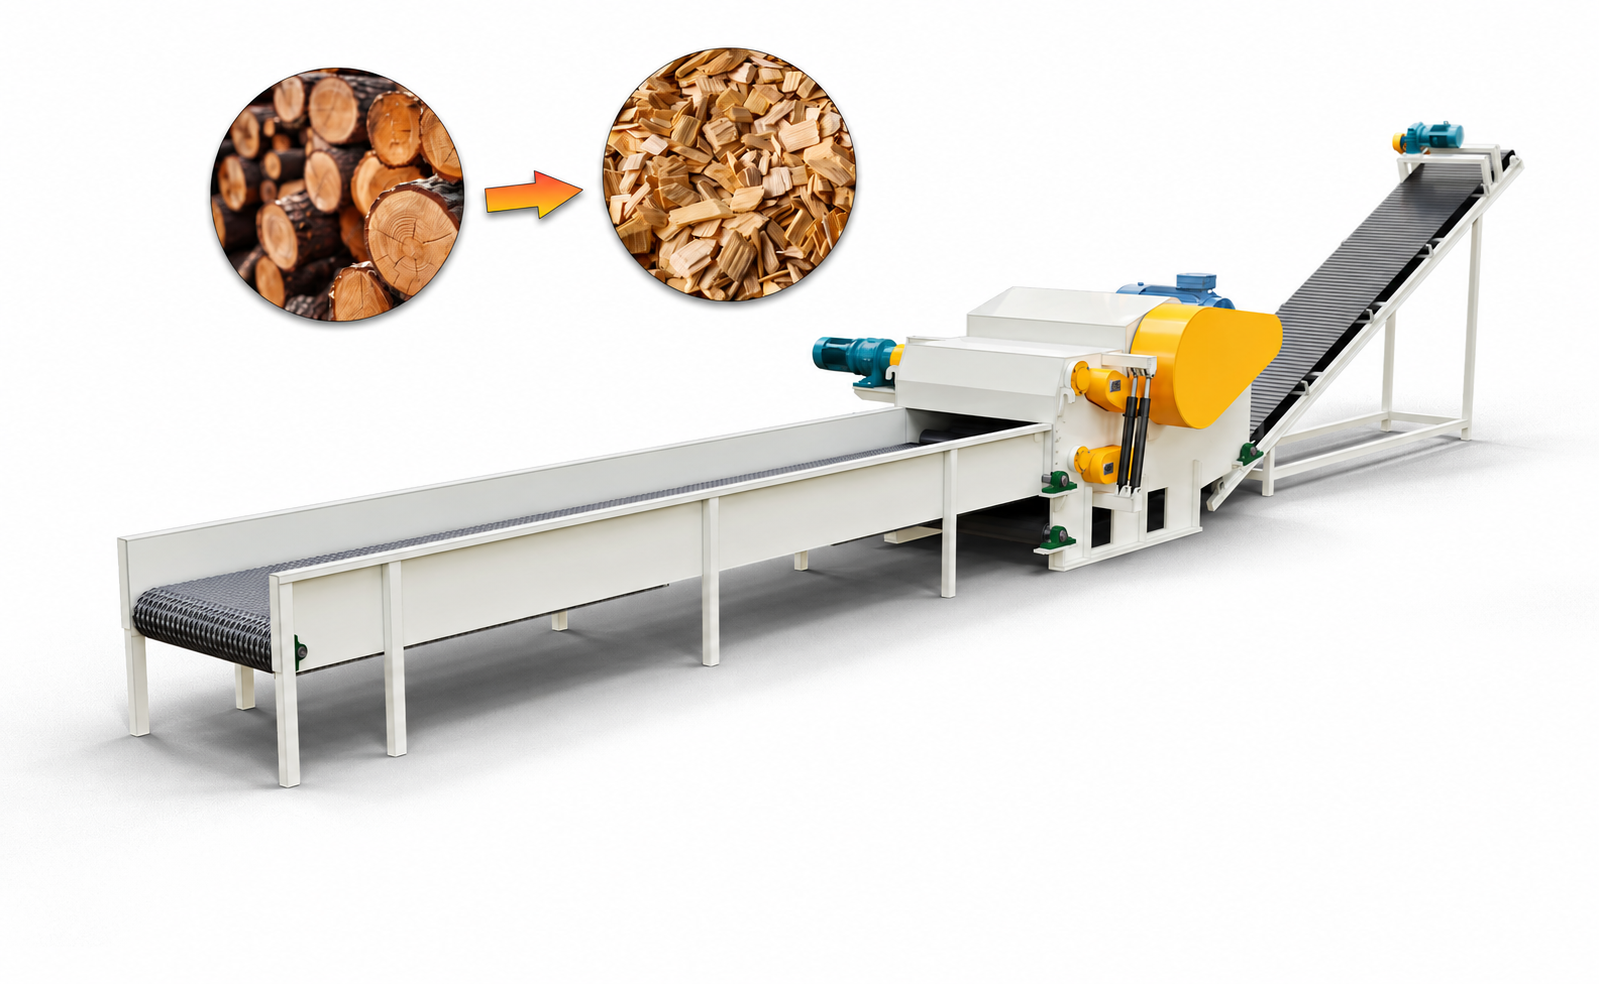 Material assessment & preparation
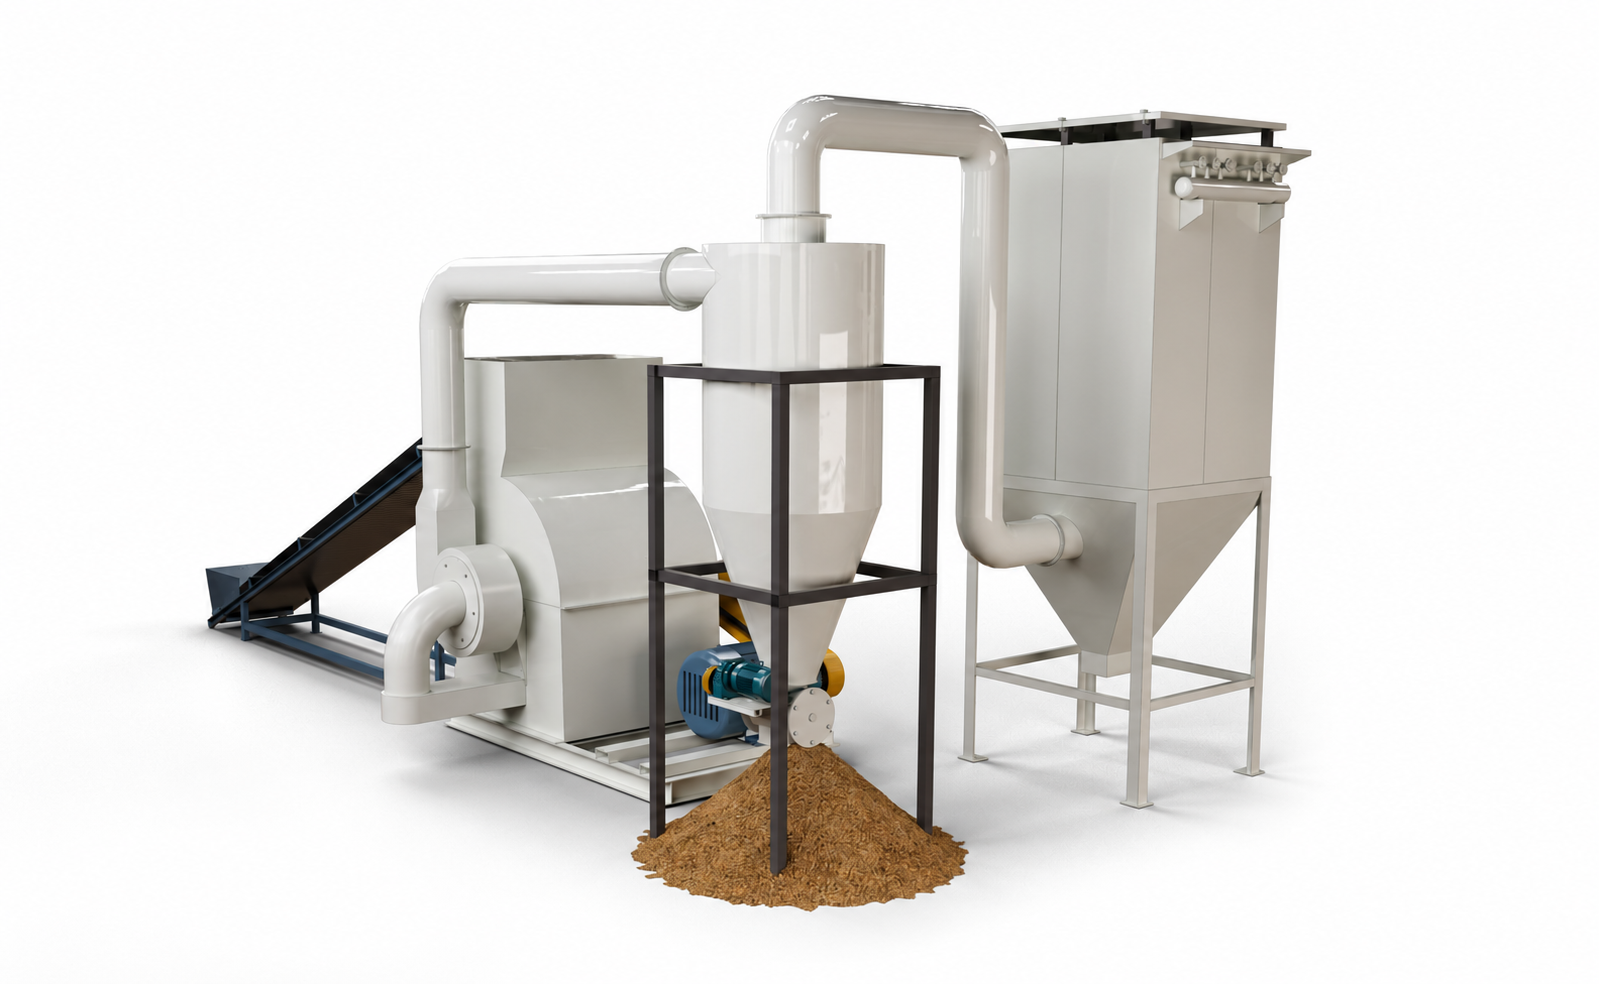 Chipping & crushing as needed
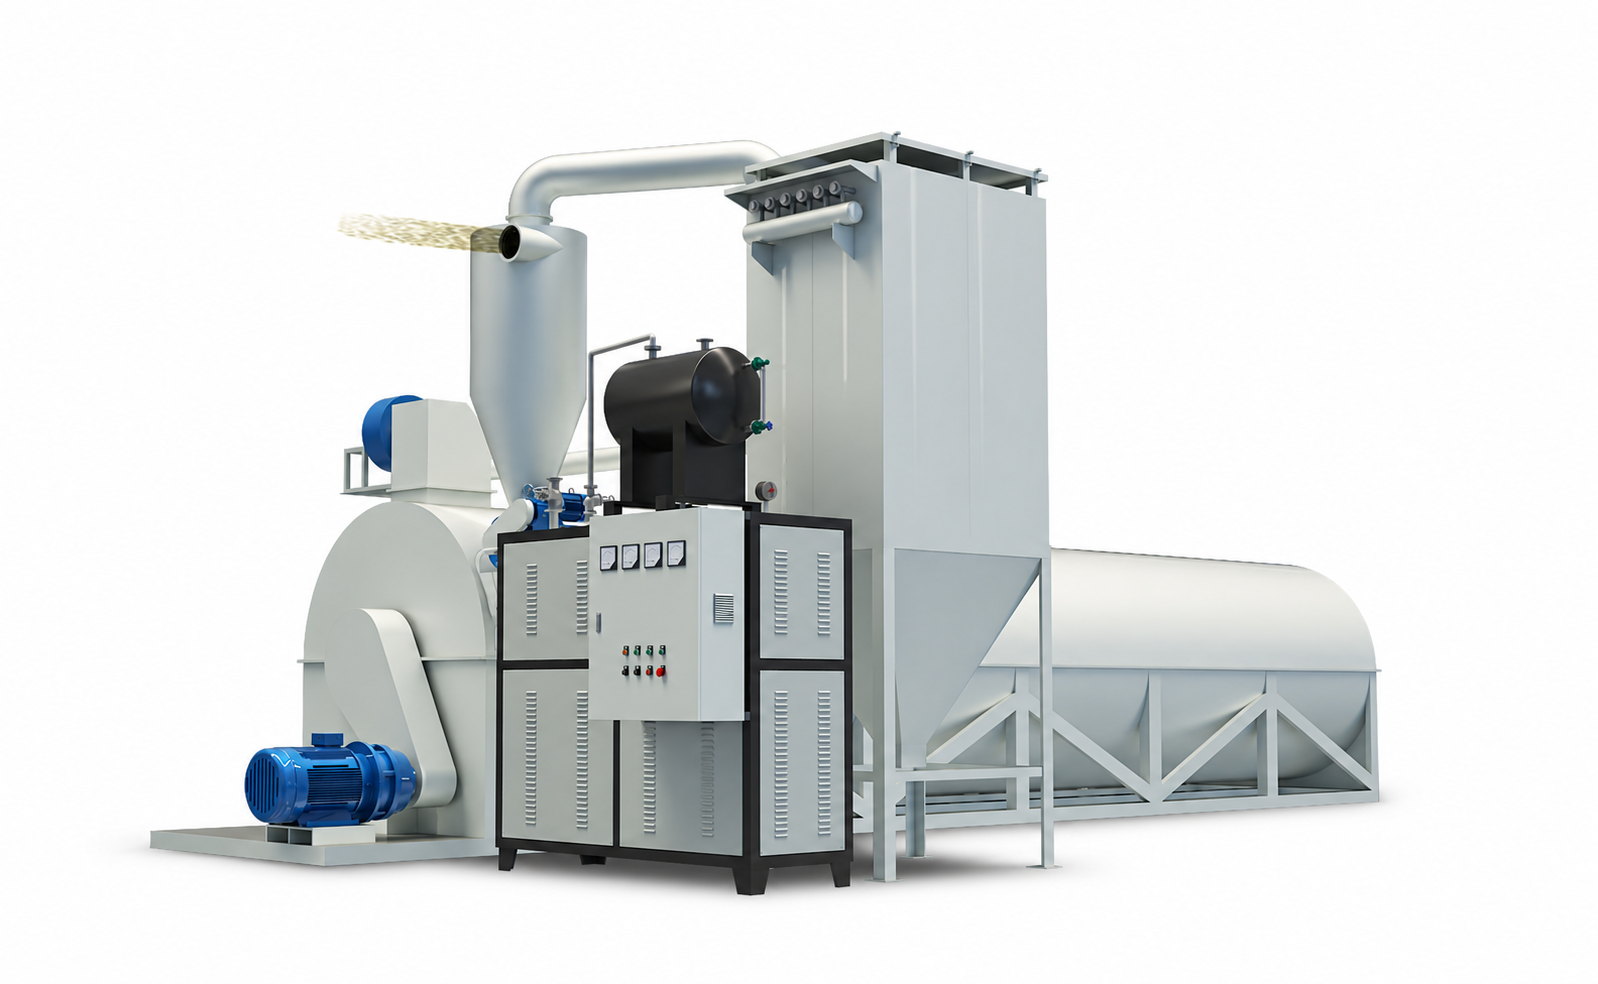 Drying as needed
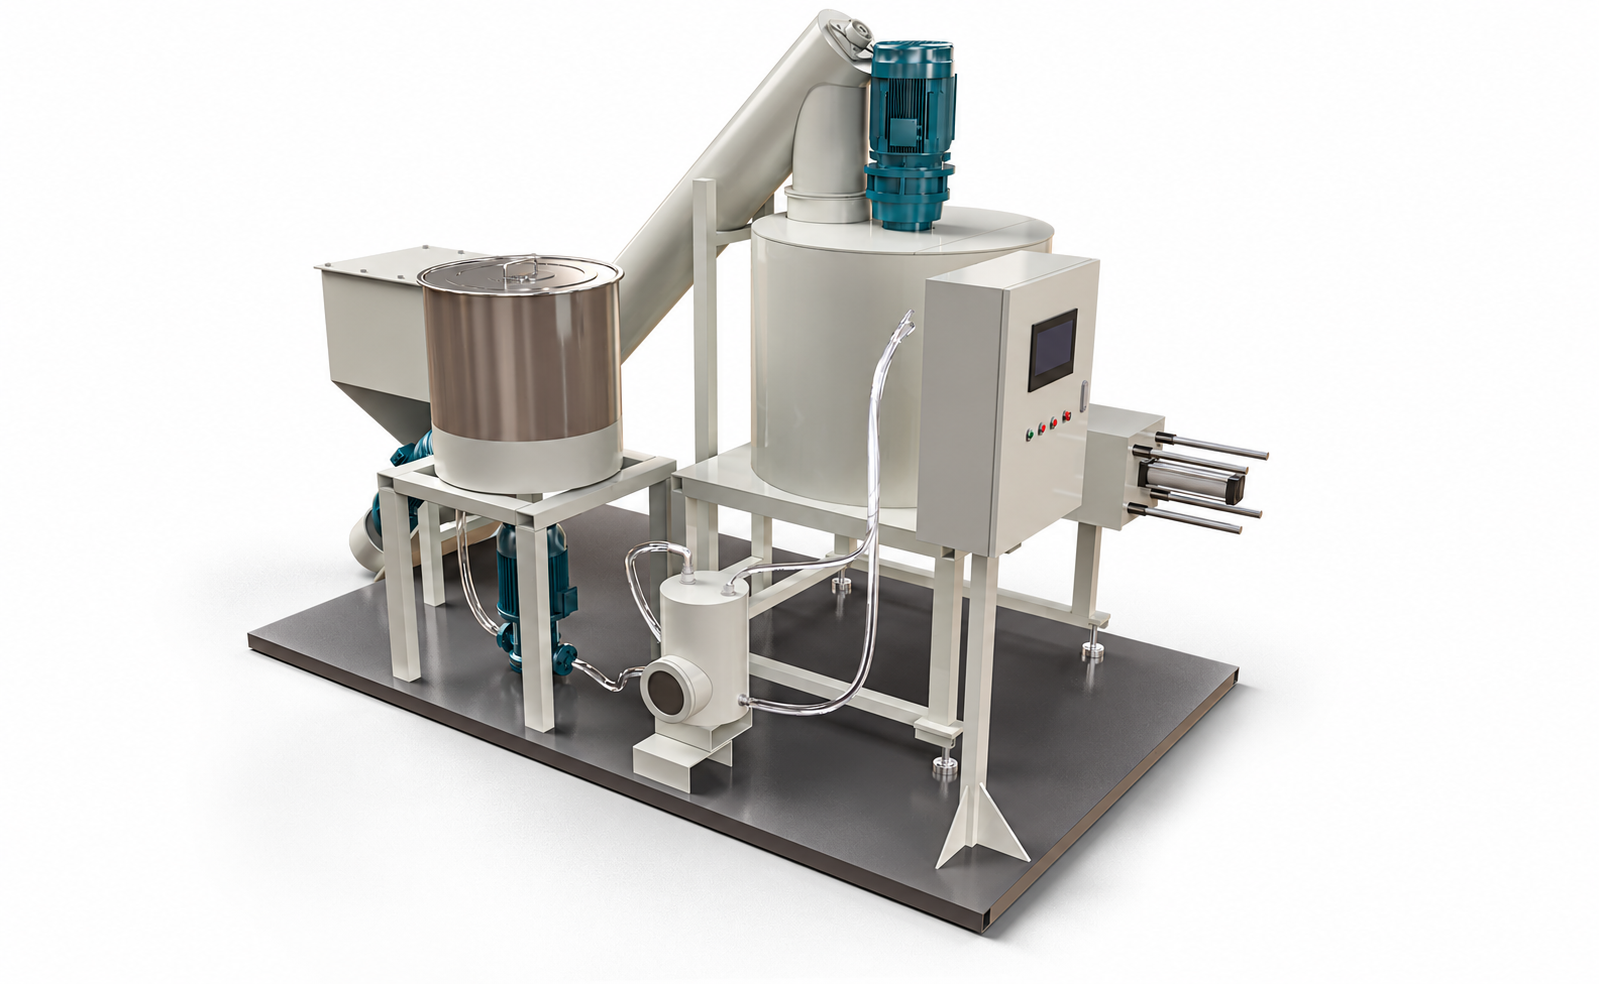 Storage & glue mixing
Typical equipment illustrations. Exact stages, conveying, dosing, molding and handling arrangements are confirmed for the material and product.
CONFIGURATION STARTS WITH YOUR REQUIREMENTS
01
Material type, moisture, particle size and supply condition influence preparation.
02
Product shape, size and required performance influence the mold and molding process.
03
The output target influences equipment selection, cycle planning and automation.
04
Available floor space, power, heating and existing equipment influence the layout.
A CONFIGURATION EXAMPLE
Illustrative configuration, subject to project assessment.
Choose pallets, boards, core plugs or cable reel components to explore a production direction.
Choose a production direction ↑Share the material, its condition and the product you have in mind.
Discuss my material →